Home canning is one of the most practical, money-saving skills a homesteader can learn. At its core, canning is simple: you heat food in a sealed jar to destroy microorganisms, then create a vacuum seal that keeps it safe at room temperature for a year or more. But there are rules — rules that exist because improperly canned food can cause serious illness. This guide gives you everything you need to start canning safely, confidently, and successfully.
Why Learn Home Canning in 2026?
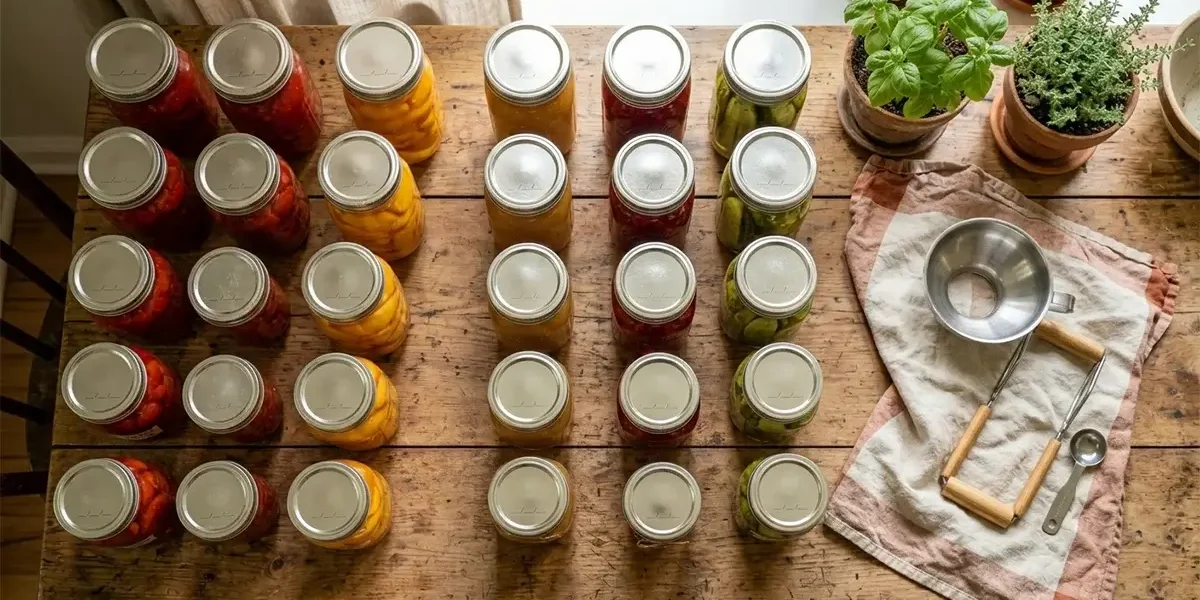
With grocery prices continuing to climb and food supply uncertainty on many Americans’ minds, the ability to preserve your own food has never been more valuable. A bushel of tomatoes from your garden or a local farm stand can become 20 to 25 quarts of shelf-stable crushed tomatoes — enough to last your family through winter and beyond. Home-canned food tastes dramatically better than commercial equivalents, contains no preservatives, and gives you complete control over ingredients. Beyond economics, canning connects you to a long tradition of American self-reliance. Your great-grandparents canned because they had to. You can choose to do it — and that choice builds real skills, real food security, and real satisfaction.
Water Bath Canning vs. Pressure Canning: Know the Difference
This is the most important concept in home food preservation, and getting it wrong can have serious consequences. The method you use depends entirely on the acidity of the food you are canning.
Water Bath Canning (High-Acid Foods)
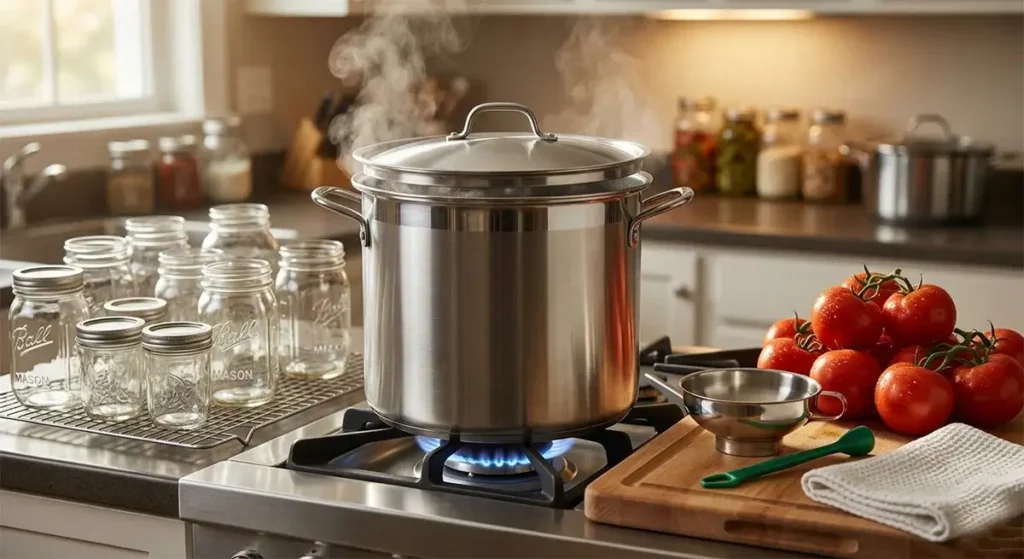
Water bath canning reaches a temperature of 212°F — the boiling point of water. This temperature is sufficient to destroy mold, yeast, and bacteria in high-acid foods, where the acid itself creates an inhospitable environment for dangerous pathogens. High-acid foods safe for water bath canning include tomatoes (with added lemon juice or citric acid), most fruits, jams and jellies, pickles with proper vinegar concentration, and fruit juices and syrups.
Pressure Canning (Low-Acid Foods)
Low-acid foods — vegetables, meats, beans, soups, and stocks — cannot be safely processed in a water bath canner. These foods require pressure canning, which reaches temperatures of 240°F under 10 to 15 pounds of pressure. Only this temperature can reliably destroy Clostridium botulinum spores, the bacteria that produces the deadly botulinum toxin responsible for botulism. Low-acid foods that require pressure canning include all plain vegetables (green beans, corn, carrots, beets, potatoes), meats and poultry, fish and seafood, dried beans and legumes, and soups, stews, and chili. Never water bath can low-acid foods. The food will look and smell fine but can contain botulism toxin — which is odorless, colorless, and potentially fatal.
Essential Canning Equipment for Beginners
You do not need expensive equipment to start canning. For water bath canning you need: a large pot with a rack, Mason jars (Ball or Kerr brands — never commercial food jars), new lids for each use (bands can be reused if undamaged), a jar lifter, a canning funnel, and a bubble remover tool. For pressure canning, add a quality pressure canner — the Presto is the budget-friendly choice and the All American (metal-on-metal seal, no gasket) is the lifetime investment. Do not confuse a pressure canner with a pressure cooker — they are different tools, and a pressure cooker is not safe for canning.
Understanding Headspace
Headspace is the empty space between the top of your food or liquid and the top of the jar. It is critical for two reasons: it allows for the expansion of food during processing, and it creates the vacuum seal as the jar cools. General headspace guidelines: 1/4 inch for jams and jellies; 1/2 inch for most fruits and tomatoes; 1 to 1.25 inches for vegetables and meats. Always follow the headspace specified in your tested recipe exactly.
The Canning Process Step by Step (Water Bath Method)
Step 1 — Prepare Your Jars: Wash jars in hot soapy water and keep them hot until filling to prevent thermal shock. For water bath processing of 10 minutes or longer, pre-sterilization is not required — the processing time handles it.
Step 2 — Simmer Your Lids: Place lids in a small saucepan and heat to 180°F. Do not boil — boiling can damage the sealing compound.
Step 3 — Prepare Your Food: Use only fresh, high-quality produce and only tested, up-to-date recipes from trusted sources. Never improvise ingredients or ratios in canning recipes.
Step 4 — Fill Jars: Use a canning funnel, leave correct headspace, release air bubbles with a spatula, and wipe jar rims with a clean damp cloth before applying lids fingertip-tight.
Step 5 — Process: Lower jars into boiling water, ensure water covers by at least 1 inch, cover and return to a full rolling boil before starting your timer. Adjust processing time for altitude above 1,000 feet.
Step 6 — Cool and Check Seals: Remove jars without tilting. Leave undisturbed 12 to 24 hours. A properly sealed lid will be concave and will not flex. Label with contents and date and store in a cool, dark place.
The Most Important Canning Safety Rules
- Always use tested recipes. Never improvise ingredients, ratios, or processing times.
- Never reduce vinegar or lemon juice in pickles and tomatoes — these acids lower pH to safe levels.
- Adjust for altitude. Processing times must be increased above 1,000 feet elevation.
- When in doubt, throw it out. Never taste-test a jar that has a broken seal, off odor, spurting liquid, or unusual appearance.
Where to Find Tested Canning Recipes
The most trusted source for safe, tested home canning recipes is the National Center for Home Food Preservation (NCHFP), hosted by the University of Georgia and funded by the USDA. Every recipe published there has been laboratory-tested for safety. Other trusted sources include the Ball Blue Book Guide to Preserving and the USDA Complete Guide to Home Canning. Your local cooperative extension service also offers free canning guides specific to your region and altitude.
Your First Three Canning Projects
Start with these beginner-friendly projects to build your skills and confidence. First, strawberry jam — simple, fast, water bath method, forgiving for beginners. Second, whole peeled tomatoes — one of the most useful pantry staples you can put up using the water bath method with added lemon juice or citric acid. Third, dill pickles — a gateway into pickle-making with a water bath canner. Use fresh cucumbers, tested brine recipes, and process within 24 hours of harvest for the crispest results.
Common Beginner Mistakes to Avoid
- Using old recipe books from before 1994 — canning science has been updated and older recipes may be unsafe
- Reusing commercial food jar lids — they are single-use by design
- Skipping the rim-wipe step — even a tiny bit of food on the rim prevents a seal
- Starting the timer before the water returns to a full boil after adding jars
- Tightening bands during or after processing — this can break seals
Final Thoughts
Home canning is a skill that pays for itself quickly and keeps paying. Once you invest in the basic equipment, the only ongoing cost is lids, produce, and your time. Start with a water bath canner and a few jars of jam or tomatoes. Follow tested recipes, respect the rules of food safety, and you will be stocking your pantry with home-preserved food that tastes better and costs less than anything you can buy at the store.

Leave a Reply